Step 1
After purchasing the plugin, install and activate it in the Shopware backend.
Step 2
Reload the backend and go to Settings -> JETT MailChimp Subscriber Sync
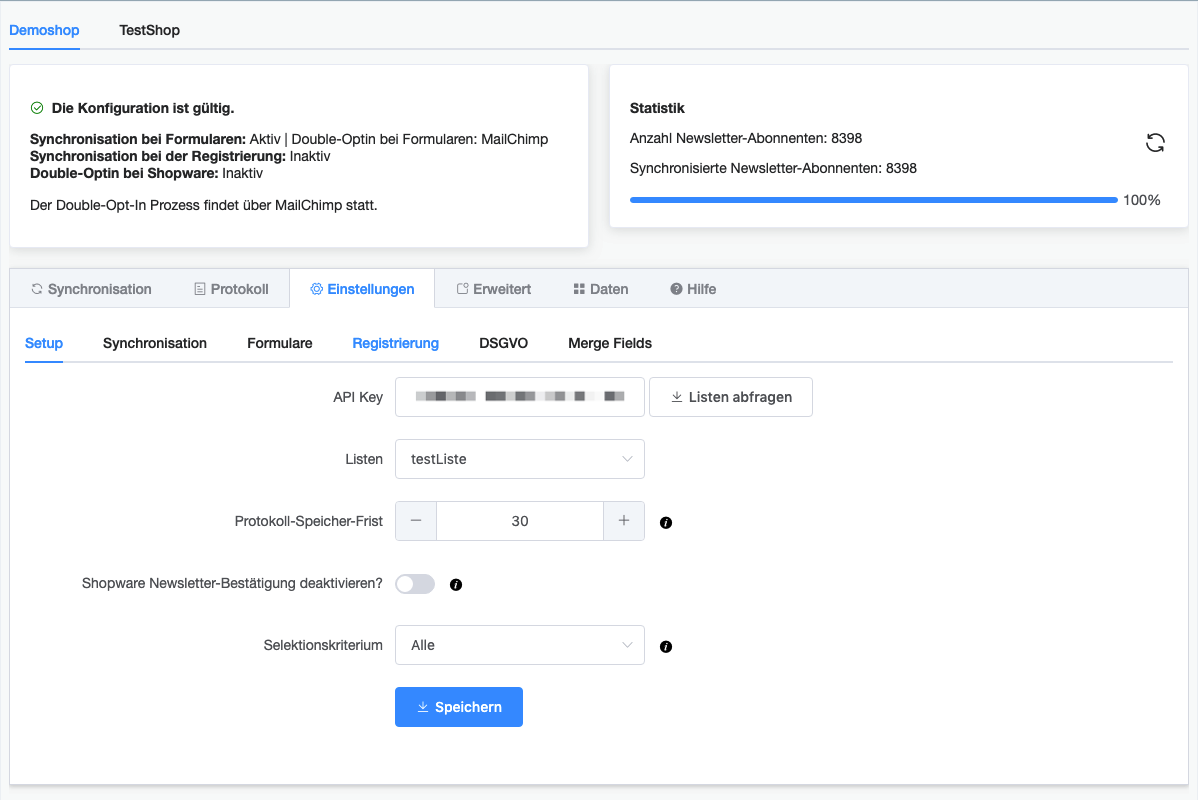
In the window that opens, you can configure all plugin settings. Select your shop and enter your API key. Then conveniently load your MailChimp lists and select the list that should be used for synchronization for the respective shop. It is no longer necessary to search for the list ID in MailChimp!
You can define a log storage period that specifies how long entries are stored in the log.
After saving, you can configure the other settings – please also refer to the plugin's product description for more information. Help texts are available for each setting to assist you with the configuration.
Step 3
Activate the “MailChimpSubSyncQueue” cron job with an interval of 5-10 minutes. This ensures that subscribers are synchronized.
Step 4
In the settings, you can specify whether the double opt-in process should be carried out via MailChimp or Shopware.
If the DOI process is to be carried out on the MailChimp side, you should deactivate the double opt-in email, which may have been sent via Shopware up to now, under Settings -> Basic settings -> Email settings (in Shopware 5.5, you will find this option under Settings -> Basic settings -> Privacy) and configure the DOI email accordingly in MailChimp.
You can find the settings by clicking on Signup Forms -> General Forms -> Opt-in confirmation email in the selected list in MailChimp. You will only see these options if the Enable double opt-in option is also activated in the selected list under Settings -> List name and defaults.
A colored status indicator in the plugin informs you whether your settings are correct.
When subscribers sign up or unsubscribe, these entries are synchronized by the cron job. The subscriber receives the double opt-in email from MailChimp with a slight delay, depending on how often the cron job runs. If the interval is too slow for you, change the interval in Settings -> Basic Settings -> Cronjobs and make sure that your server generally runs cronjobs more frequently.