After purchasing the plugin, install and activate it in the Shopware backend.1. In MailChimp, add the merge fields for the information you want to transfer. Here we have added the customer group, salutation, and birthday as merge fields.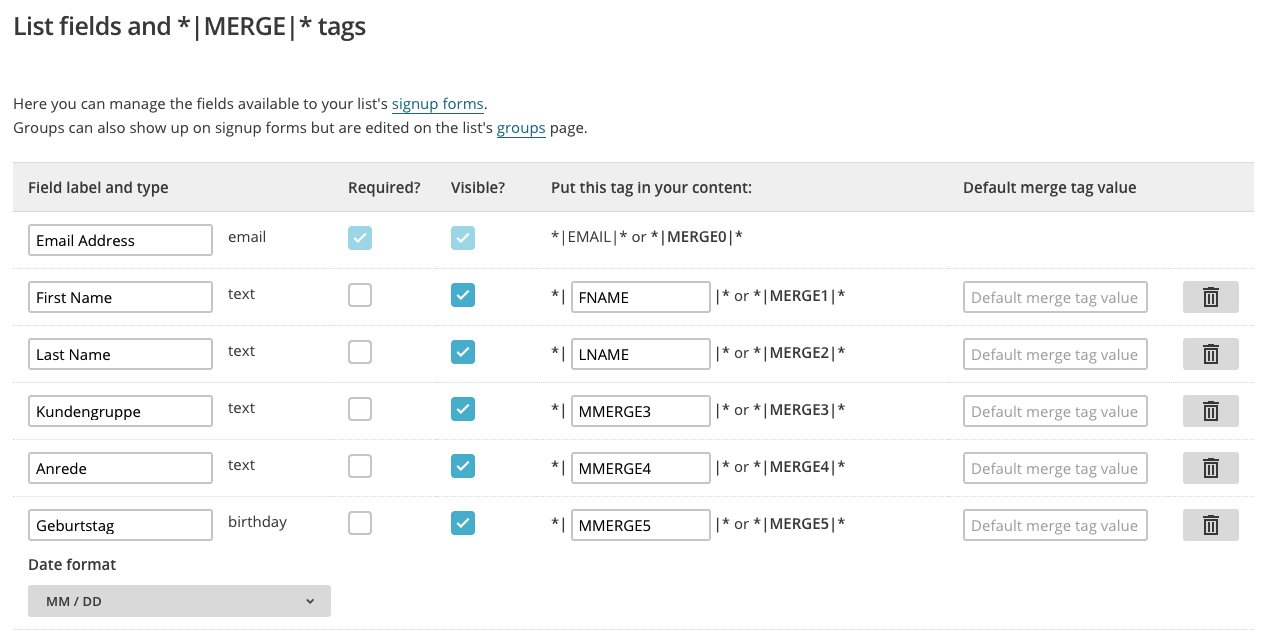 2. Reload the backend and go to Settings -> JETT MailChimp MergeFields3. In the window that opens, you can define rules that ensure that additional information is transferred to MailChimp. To define your first rule, click New Rule:
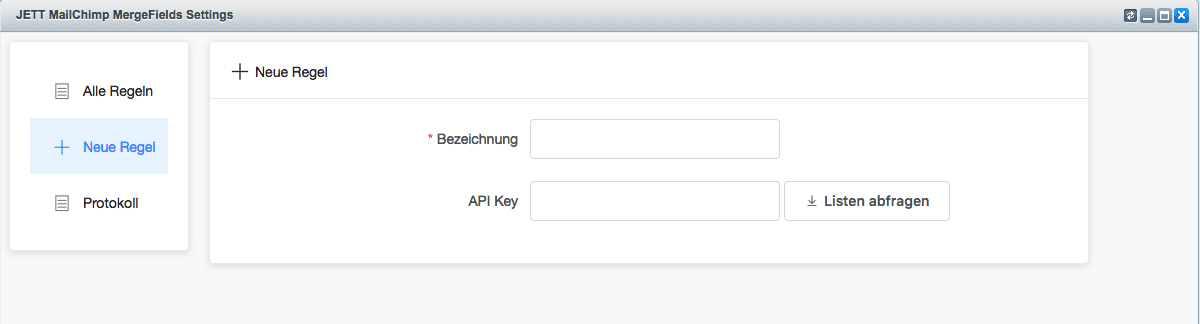 Enter a name for the rule, then enter your API key from MailChimp and retrieve the list you want to enrich with additional information. After selecting the list, you can load the current merge fields for this list:
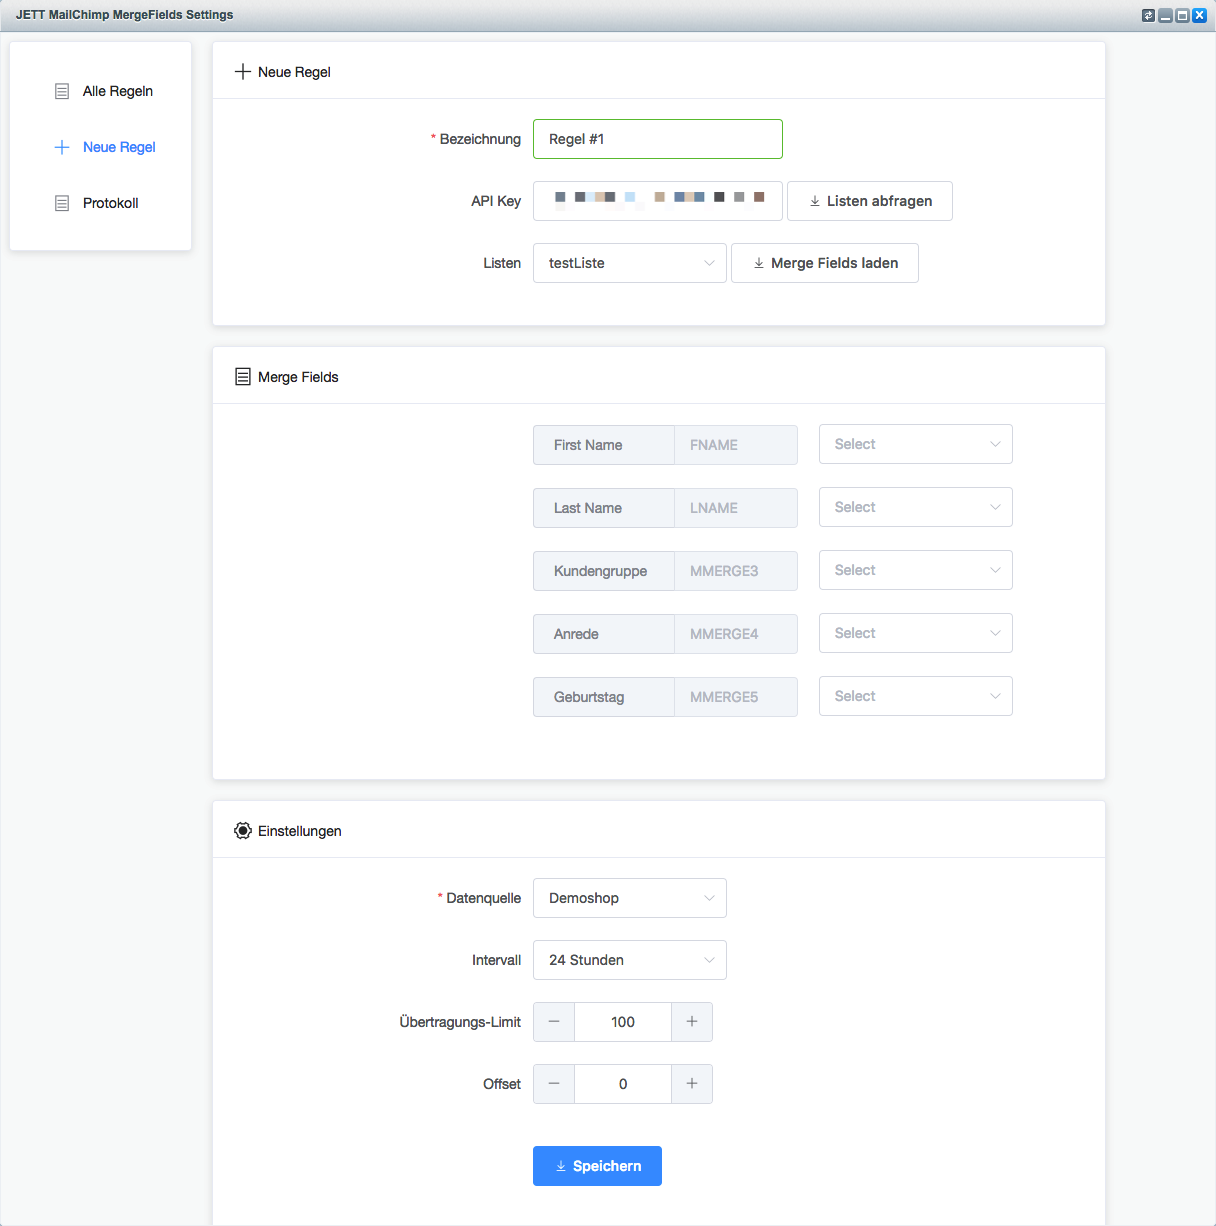 Here you can see all merge fields for the currently selected list and can now assign them to the corresponding Shopware field:
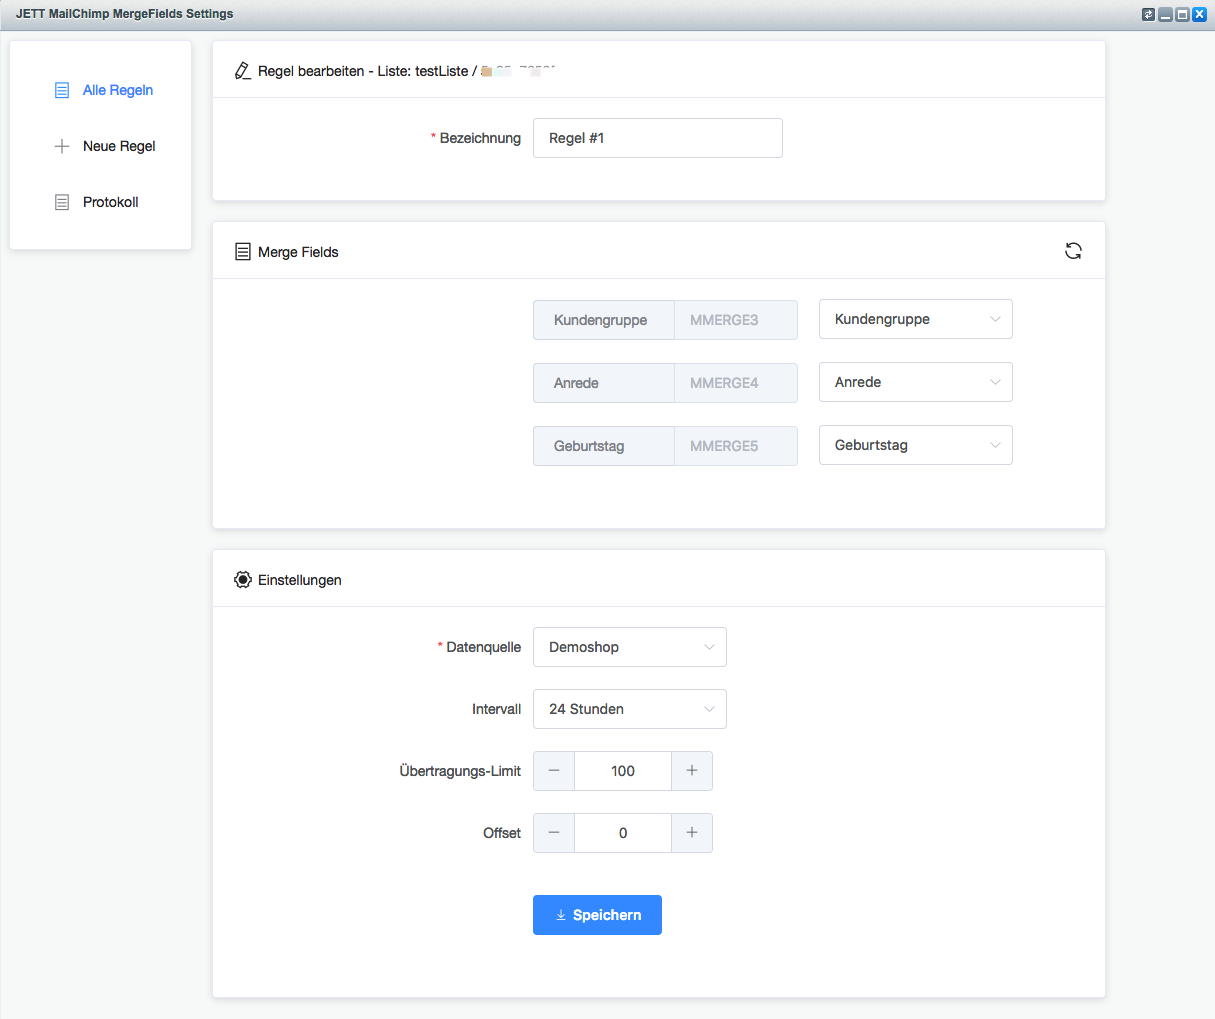
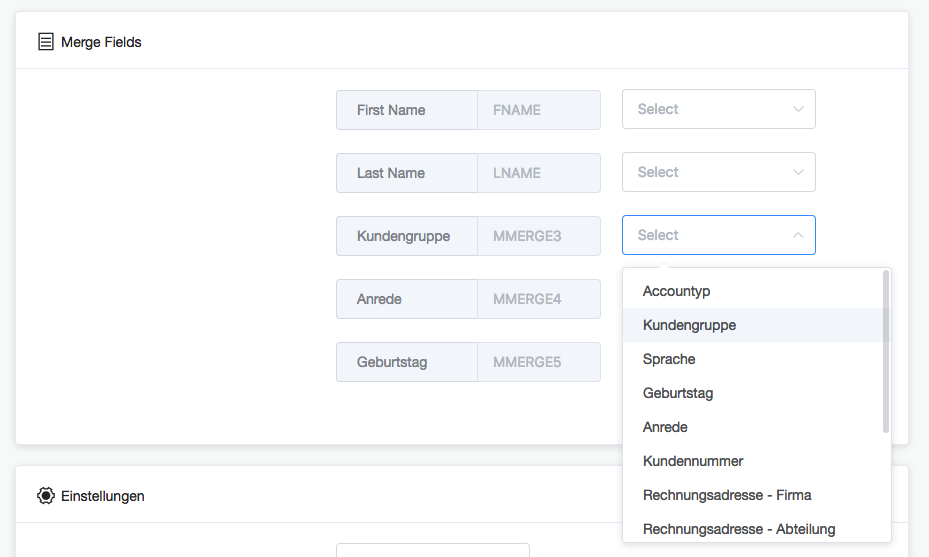 1. Under Settings, you can now select the data source, the corresponding shop, and set an interval for how often the data is transferred to MailChimp. Please note that data can only be transferred if the respective email address stored in the MailChimp list can be assigned to a customer in your shop. If no customer is found for the respective email address in Shopware, no data will be transferred for that address.2. The transfer limit determines how many entries are sent to MailChimp in one run. We recommend leaving the Transfer limit and Offset settings as they are by default. 3. Save the rule. 4. Activate the CronJob “MailChimpMergeFields” with an interval of 30-60 minutes. This ensures that the information is synchronized. 5. The transfer should now begin. You can find current information about the synchronization in the Log section. 6. You can also modify rules later. To do this, click on All Rules and select the rule you want to edit. You will then see the screen shown in the following screenshot. Using the icon on the right-hand side next to “Merge Fields,” you can reload the merge fields in this list. This allows you to edit a rule after you have added new merge fields to a list.